介紹
現在網站基本上都需要有 HTTPS,是以安全為目標的 HTTP 通道,簡單講是 HTTP 的安全版,即 HTTP 下加入 SSL 層,HTTPS 的安全基礎是 SSL,因此加密的詳細內容就需要 SSL。
因為最近常用前後端分離的開發方式(.net core + Vue),通常開發時還是會習慣先把後端上版到 IIS 上面,方便端工程師可以做串接。後端程式如果在上版後使用 HTTPS 卻沒安裝 SSL 憑證的話,前端在串接上可能會出現問題,會出現不安全的警告。但是在開發的過程中,我們不希望花錢買昂貴的 SSL 憑證,因此本篇將在 IIS 上安裝免費 SSL 憑證。
預先設置
首先在你的 Windows Server 的 IIS 上新增站台,在此範例中我使用 test1.ui-code.com。

網域 DNS 設定,指向你的 Windows Server 的 IP 位址。

可以在 IIS 的站台上

一、SSL 憑證申請
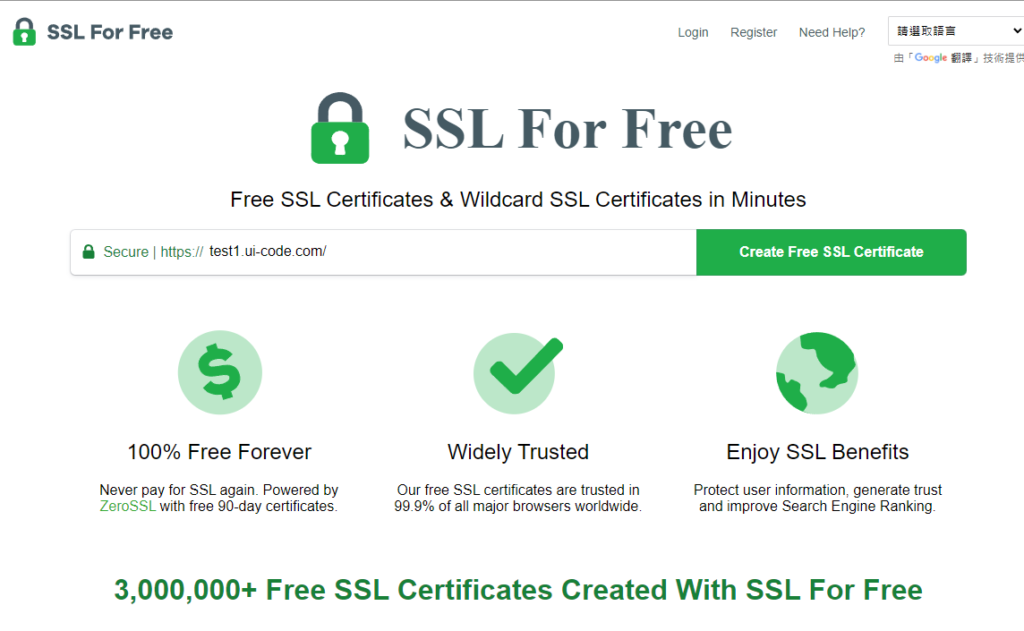
目前免費憑證的申請習慣使用 SSL For Free,雖然 SSL For Free 憑證的有效期只有 90 天,每 90 天就要做一次 Renew,但是在開發環境滿夠用了。
SSL For Free 的網址:https://www.sslforfree.com/
在首頁就可以看到輸入網址的畫面,輸入自有網域的網址。
例如:我的網域是 ui-code.com,我要申請的是 test1.ui-code.com。
或是在註冊完帳密後,可以在後臺新增網域憑證。


接下來就要開始驗證網域了,我們可以看到畫面
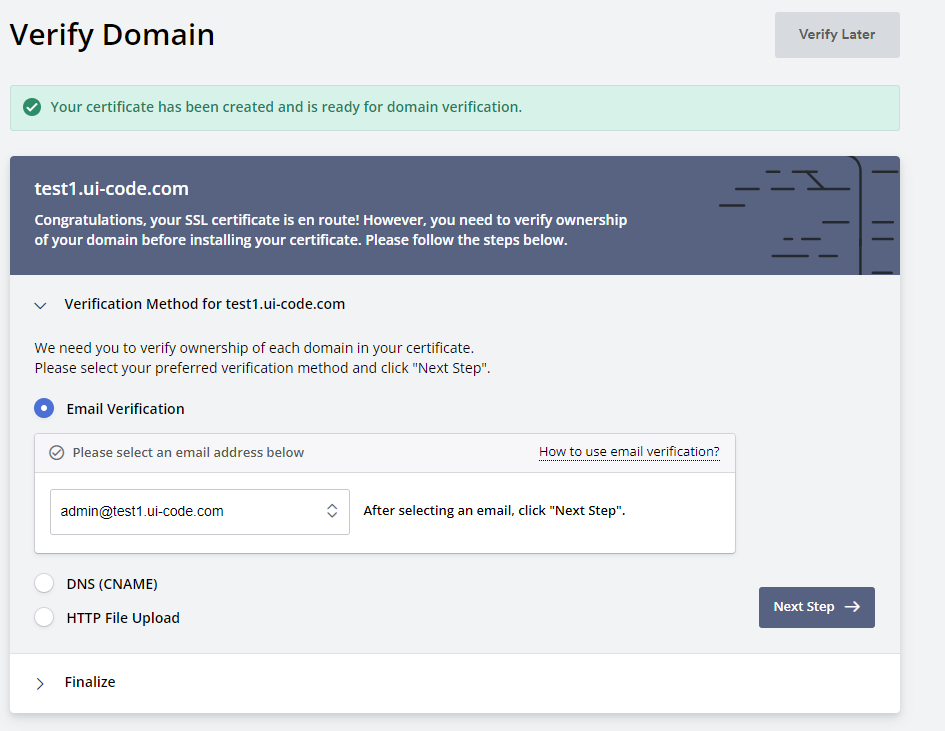
可以知道網域的驗證方式有三種方式:信箱驗證、DNS 驗證、HTTP 檔案驗證。只要任選一個驗證方式即可,我習慣使用 HTTP File Upload,以下也會使用此方式來講解。
選擇 HTTP File Upload 後,可以看到以下畫面,我們就照著教學去操作。
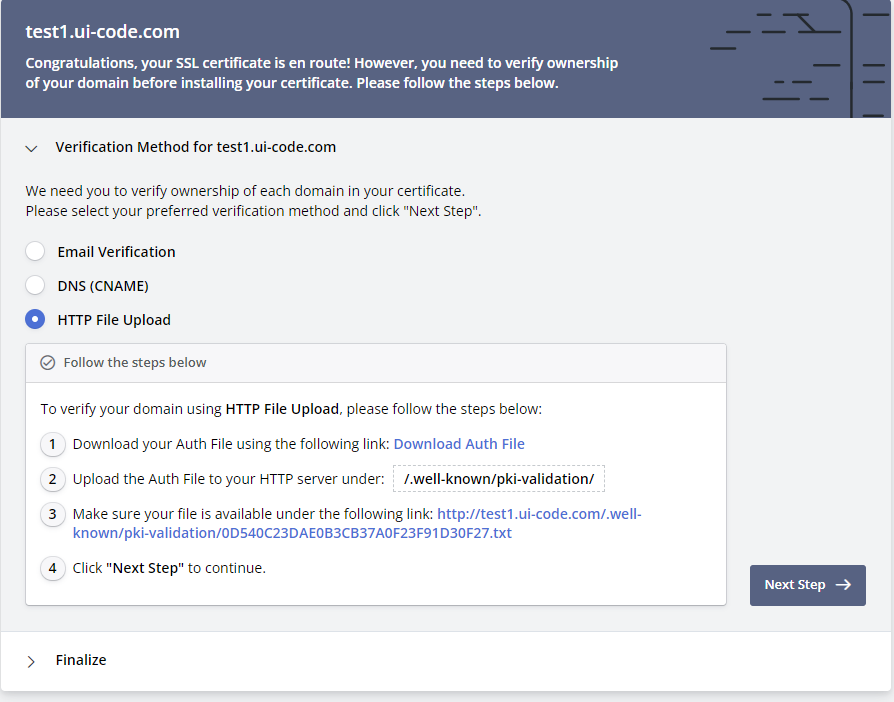
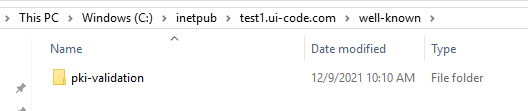
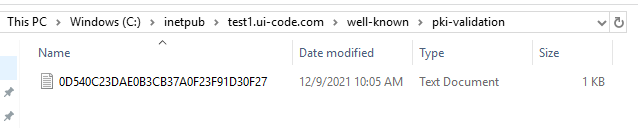
第一步驟,我們直接下載驗證文件,可以得到一個 txt 檔案。第二步驟,需要將剛下載的驗證文件上傳到 /.well-known/pki-validation/ 資料夾底下,因此你需要在你的 IIS 站台上新增檔案夾,在新增的時候會發現 .well-known 檔案夾會建立不出來,因此以下我們先建立 /well-known/pki-validation/ ,然後先把驗證文件放到資料夾底下,如下圖。
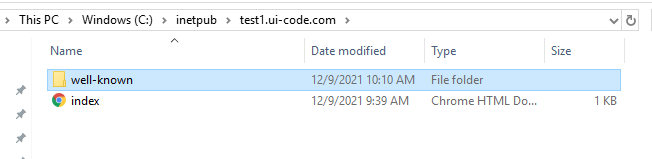
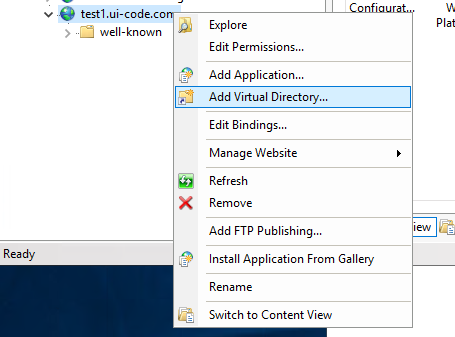
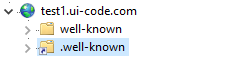
接下來我們要在 IIS 的 test1.ui-code.com 站台上新增虛擬目錄

接下來點擊驗證網域就可以成功了!
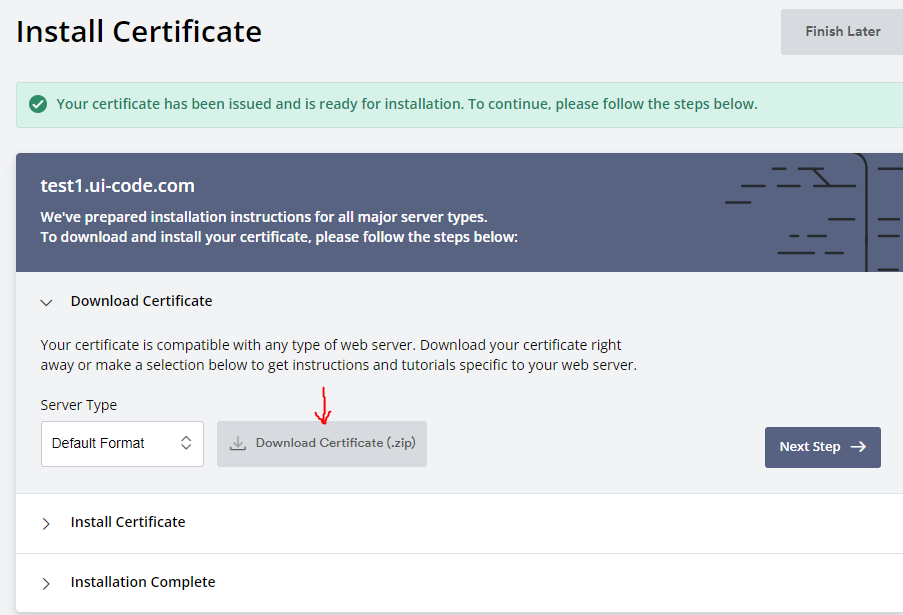
接下來就可以下載憑證了,然後就可以開始安裝。
二、產生私密金鑰
安裝到 IIS 的憑證必須是 *.pfx 的檔案。但根據申請的管道不同,可能取得的憑證檔案格式不太一樣。如果可以拿到 *.pfx,就可以跳過此步驟。不是的話,會教你拿到的憑證基本上都能產生出 *.pfx 檔案。
例如我從 SSL For Free 申請到的憑證,有以下三個檔案:
certificate.crt:Certificate 文字檔
private.key:Private Key 文字檔
ca_bundle.crt:中繼憑證文字檔
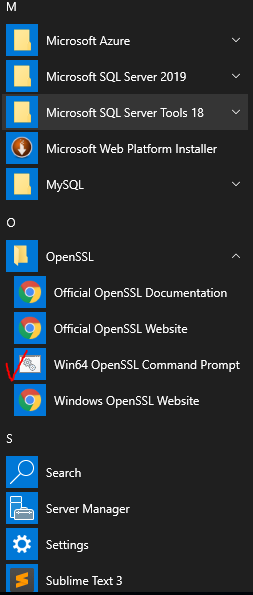
可以透過 OpenSSL 來產生 *.pfx,可以在此下載 OpenSSL 。安裝完成後就可以打開 OpenSSL 的應用程式,打開後可以看到是終端機的介面。
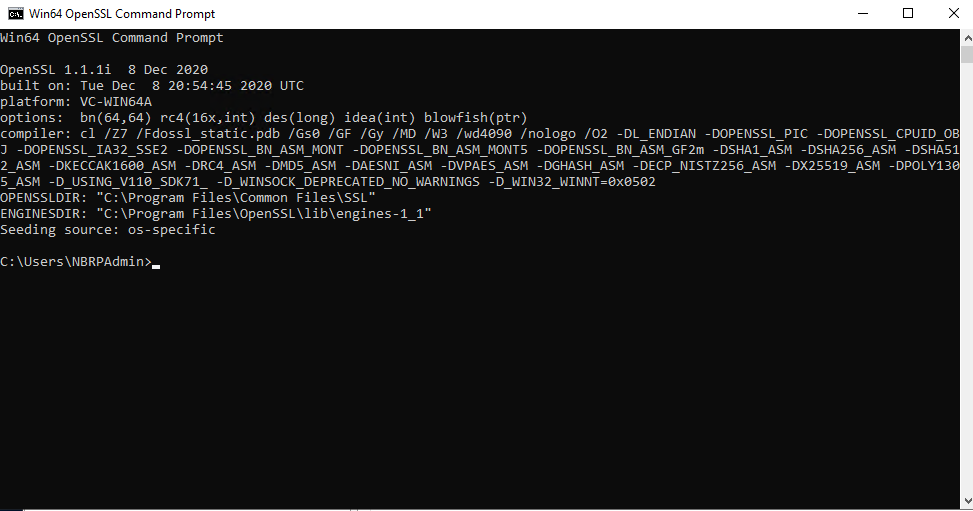
接下來進入放憑證的資料夾後,輸入以下指令:
openssl pkcs12 -export -in certificate.crt -inkey private.key -certfile ca_bundle.crt -out sample.pfx

它會提示輸入自訂密碼,要匯入 IIS 時會用到。
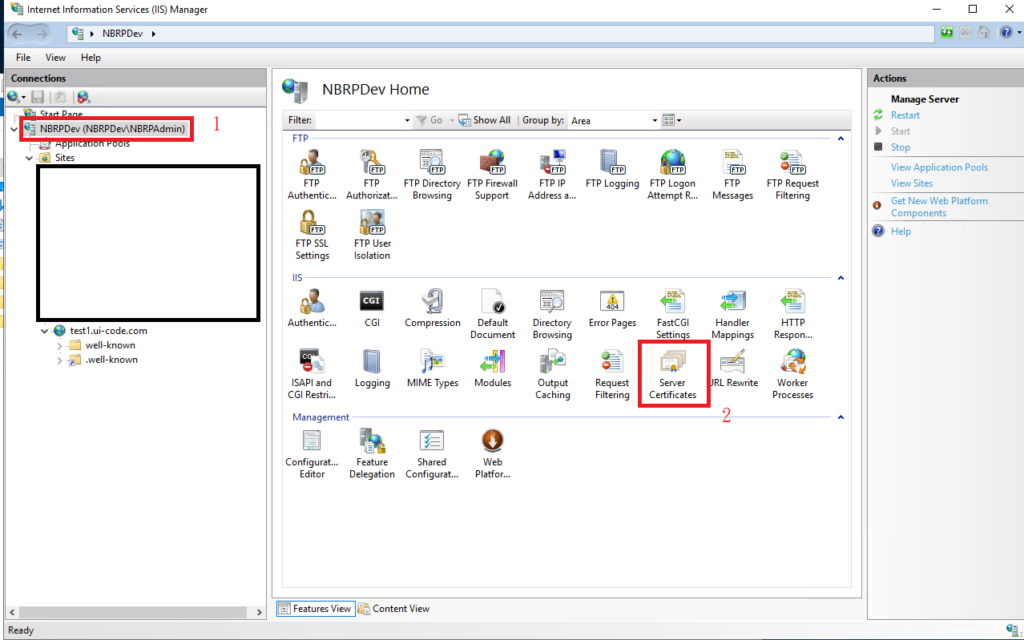
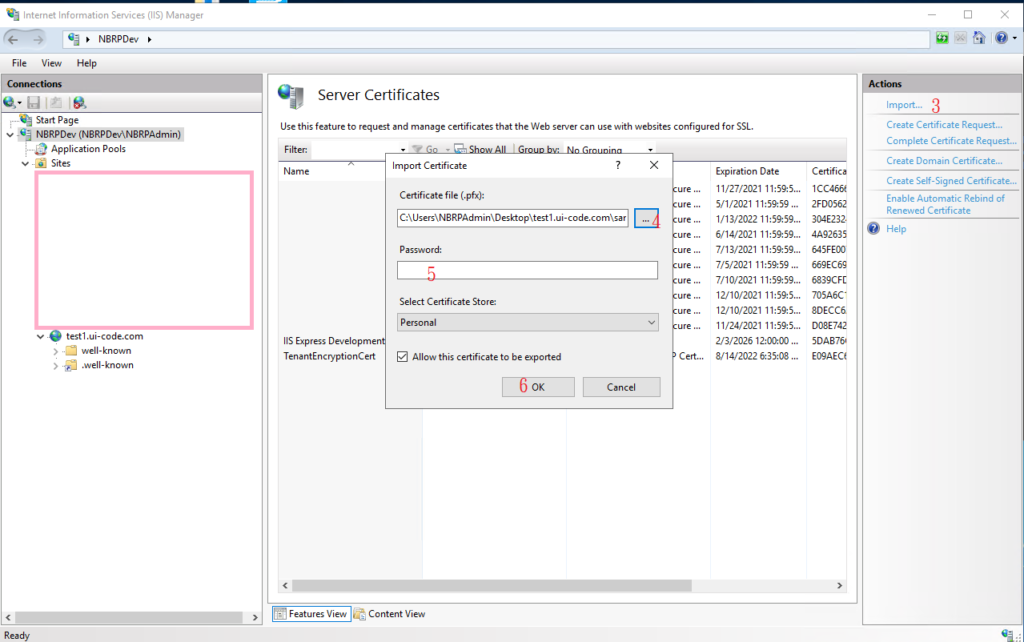
三、安裝憑證
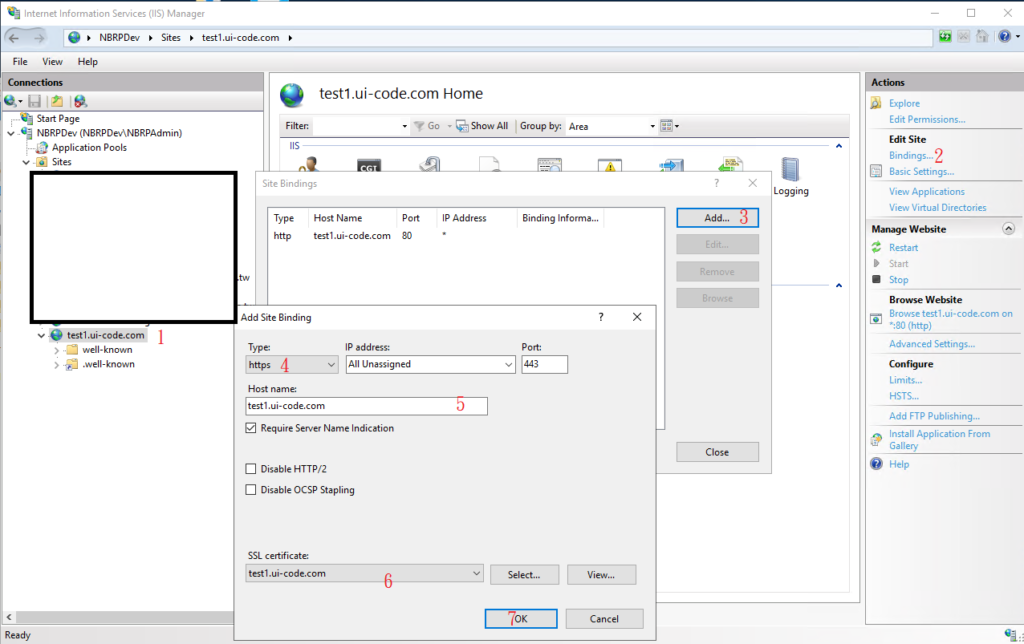
四、綁定網域
五、驗證
